Its been a Hard Days Night and I've been working...at the York Glaziers Trust, henceforth referred to as YGT! Wow! I can't begin to express how awesome these last two weeks have been! It probably seems silly from the outside looking in, but for me this is a fulfillment of a goal set eight years ago. I wanted to work in glass professionally, and here I am working in one of the most prestigious conservation studios in the world, AND getting to work on one of the most famous windows in the world. I can't believe my luck!
I have to say, I haven't written sooner, because I have been falling asleep in my chair after dinner. Its been several months since I worked a full week of 8 hour days. I have been walking to and from the studio as well, which is 3.2 miles round trip, and I have been exhausted. Happy to be exhausted though!
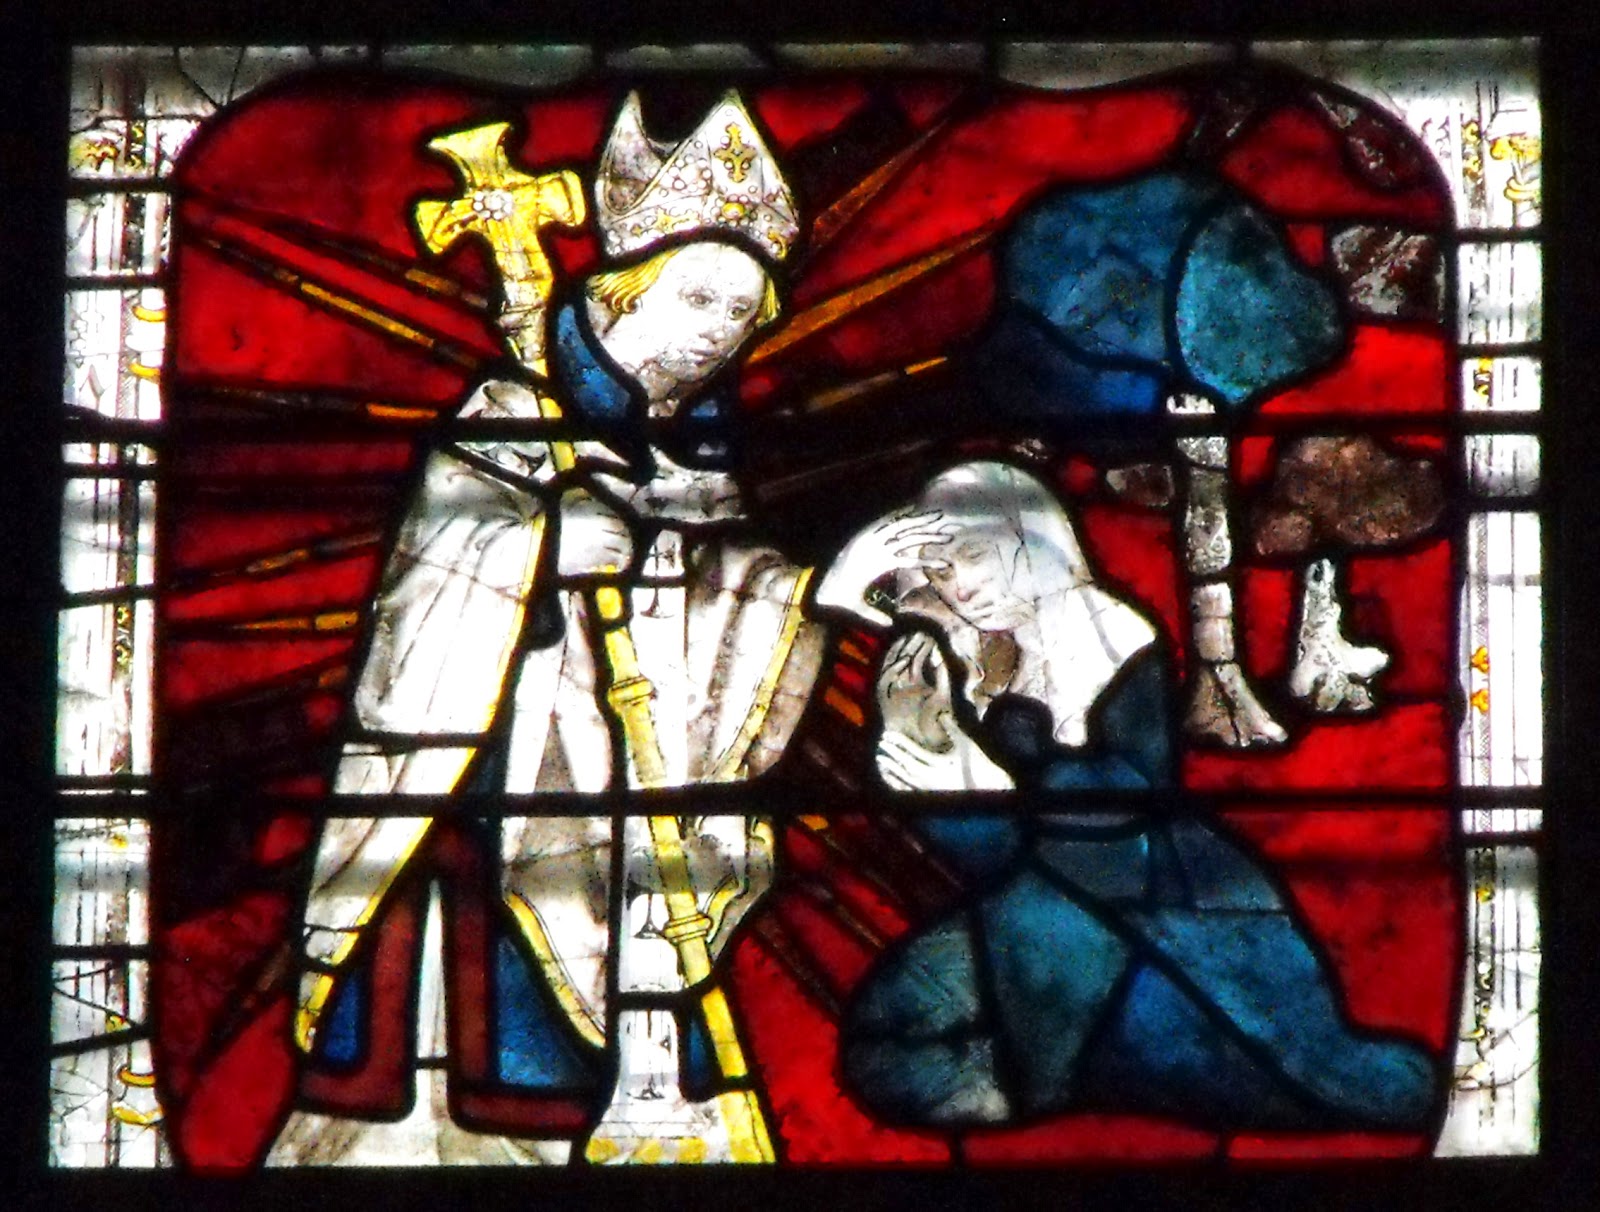
A little background on the Great East Window of York Minster: The window was first created between 1405-1408 by John Thornton a well known glazier of his time, and what must have been a huge team of craftsmen. To put it into perspective, the conservation is estimated to take 8-10 years, while John Thornton completed the original in just 3! The window is the largest expanse of medieval stained glass in the world, and is about the size of a tennis court.
And I am working with it! Can you see why I feel lucky?! The window itself is amazing, especially when you see the individual panels. It tells the story of the begining and end of time. How timely considering the Rapture is supposed to be happening today, in about 9 minutes! What I find really fascinating about each panel is how J. Thornton was able to include multiple interactions within one scene.
This is the description from the Minster's webstite,
"The window is an Apocalypse window, which follows the theme of “I am the beginning and the end”. In its apex is God the Father holding a book stating “Ego sum alpha et omega” (“I am the alpha and omega”, the first and last letters of the Greek alphabet, which was the language of the New Testament).
The top panels in the window depict episodes from the beginnings of the world as described in the Old Testament books of Genesis through to Samuel. The rest of the window shows the end of the world in graphic detail, as described in the Book of Revelation, also known as the Apocalypse. The bottom nine panels illustrate historical and legendary figures, including kings and saints, as well as donor figures who gave money for the work."
So onto some pictures of the fascinating work I have been doing for the last two weeks...
This is a panel/scene that I was puttying. The glass was originally all hand made,
and has varying thicknesses. The putty is inserted between the lead and the glass,
to keep the glass secure, to strengthen the panel, and originally for weather proofing.
The putty is scraped away to form a 90 degree angle to the glass, so the lead does
not appear any wider than it is, and as much of the glass can be seen as possible.
The first step after documentation is to dismantle the panel, to remove the glass from
the lead net. The lead breaks down over time, and the result is a highly toxic dust.
All safetey measures are taken to minimize exposure to the dust as you'll see.
In addition to face mask and hair net, I also was covered in a full body suit and apron.
I also used a high powered air extractor and true hepa filter vacuum cleaner during the process.
This is what the glass looks like once the lead has been removed.
The glass is fumigated to loosen the old hardened putty for safe removal from the glass.
And then the manual cleaning begins.
Each and every piece of glass is hand cleaned, under a microscope with a scalpel
and water/ethanol solution. The microscope is used to minimize any damage
to the paint or glass, which after 600 years is quite fragile.
These small faces are only about 3 inches tall. The attention to the details is exquisite.
Imagine, these are in the 12th row up from the bottom, and are as fine and lovely as the first row,
even though hardly distinguishable to the eye from the ground.
These have not been cleaned yet.
Its surprising what you can find under the microscope. Can you see the finger print here?
The brown paint is original, so this is a 600 year old finger print!
After cleaning, any broken pieces are temporarily taped, to hold in place.
Some of these may be edge bonded, rather than run mending leads through each break.
Edge bonding can only be done on clean breaks and can not be done on new
glass to old glass. Removing the mending leads will help make the individual
window panels easier to "read".
These have been cleaned, taped, and put into place on the design diagram.
Its so very satisfying to take a dirty broken jumble of pieces and to clean and reassemble them.
Its sometimes like working on a great big jigsaw puzzle. I love it!




.jpg)


